
.
Overview
The CallerDesk + HubSpot Integration connects your CallerDesk cloud telephony platform with HubSpot CRM. With this integration, your sales, support, and marketing teams get a unified view of customer communication inside HubSpot.
Key benefits:
- Automatically log inbound and outbound calls in HubSpot.
- Attach call notes and recordings to HubSpot contacts and companies.
- Trigger HubSpot workflows for follow-ups, missed calls, and IVR actions.
- Improve productivity and ensure no customer interaction goes untracked.
This guide will walk you through how to install, use, disconnect, and uninstall CallerDesk’s HubSpot integration.
Install
Follow these steps to install and connect CallerDesk with HubSpot:
Step 1: Log in to CallerDesk
- Open the CallerDesk Dashboard.
- Enter your account credentials.
- From the left-hand navigation panel, select API & Integration.
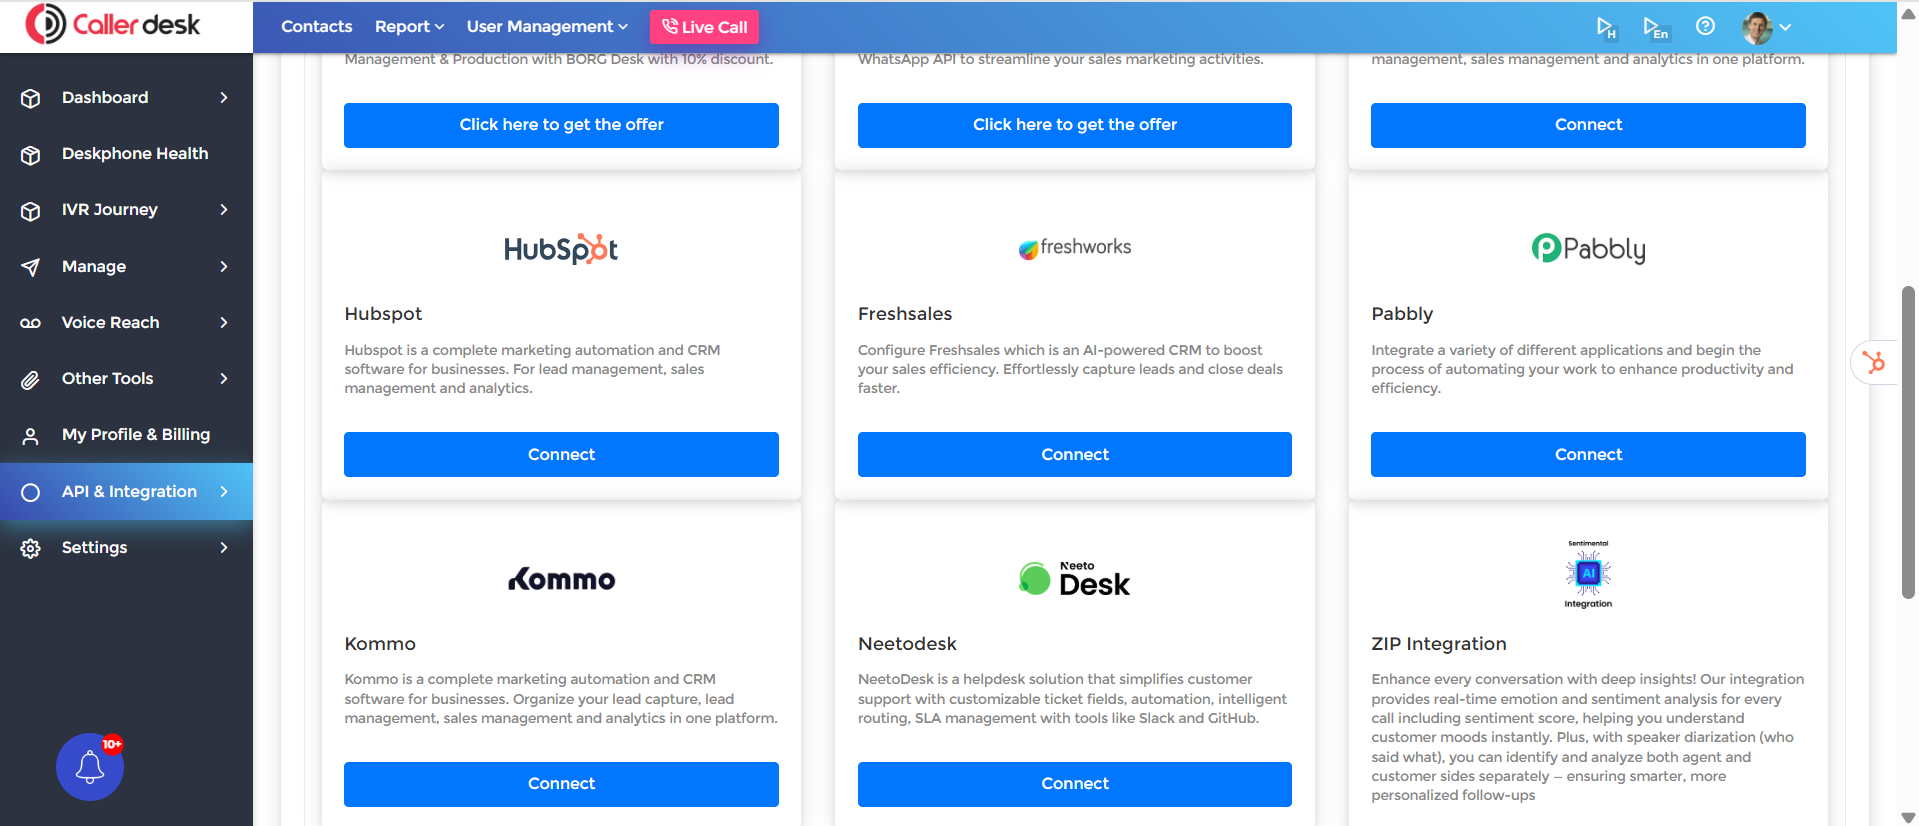
Step 2: Select HubSpot Integration
- Under Available Integrations, find HubSpot.
- Click the Connect button.
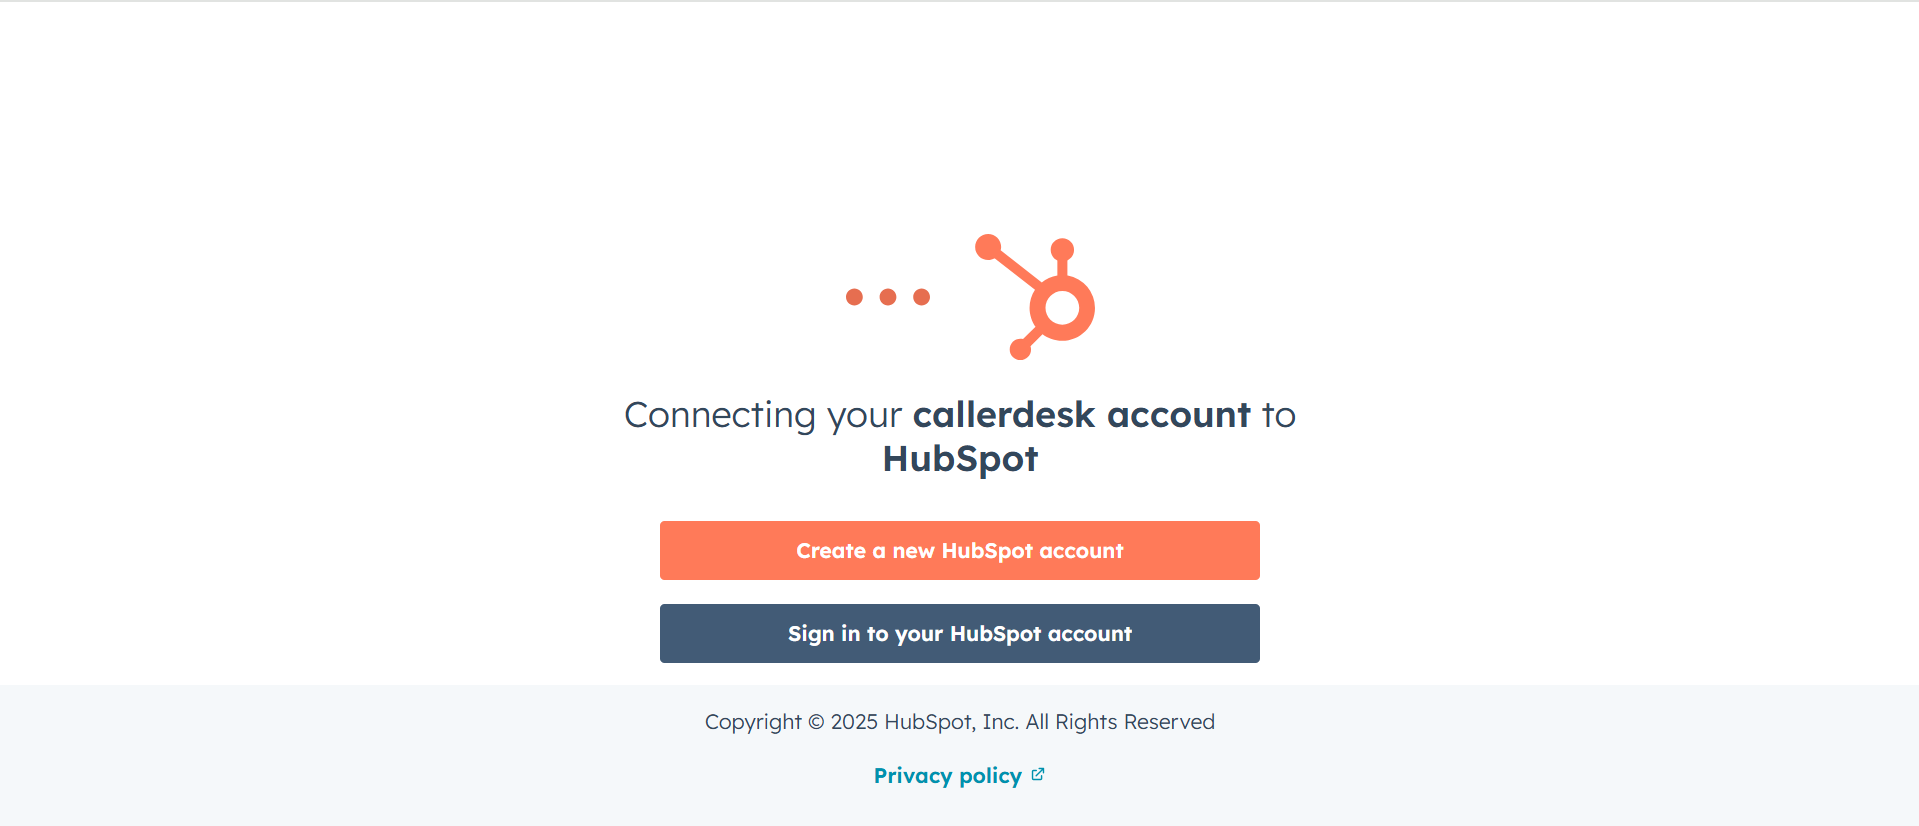
Step 3: Sign in to HubSpot
- You’ll be redirected to HubSpot’s login screen.
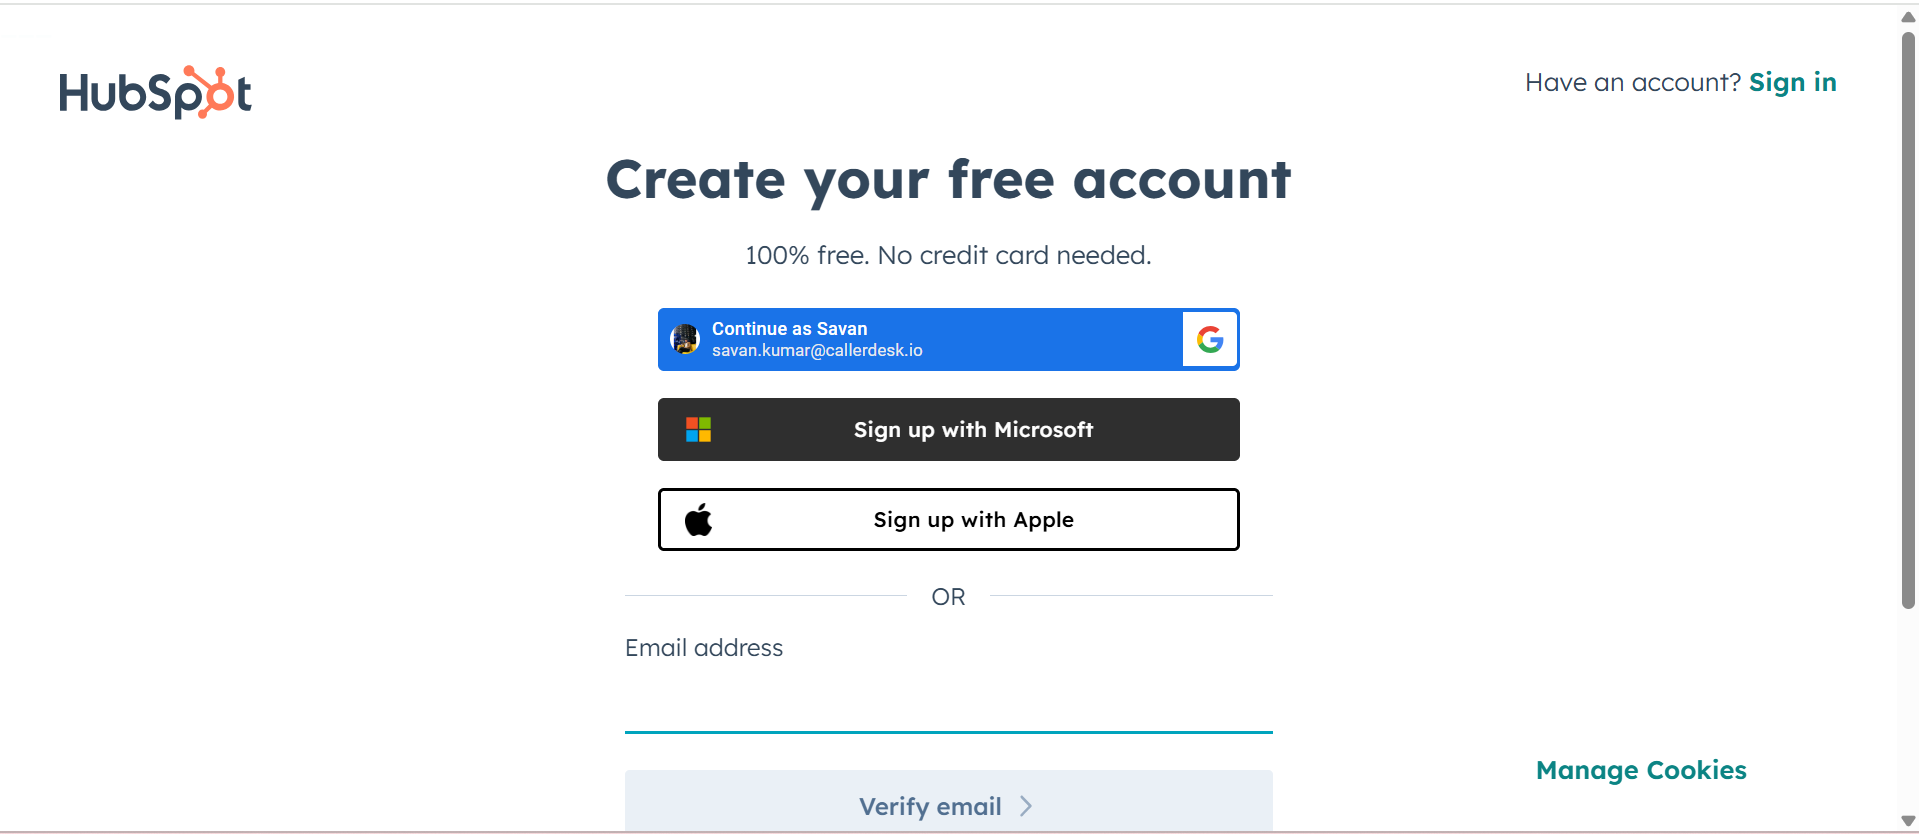
- Choose one of the following login options:
- Email + Password
- Google login
- Microsoft login
- Apple login
- If you don’t already have a HubSpot account, click Create a new HubSpot account.
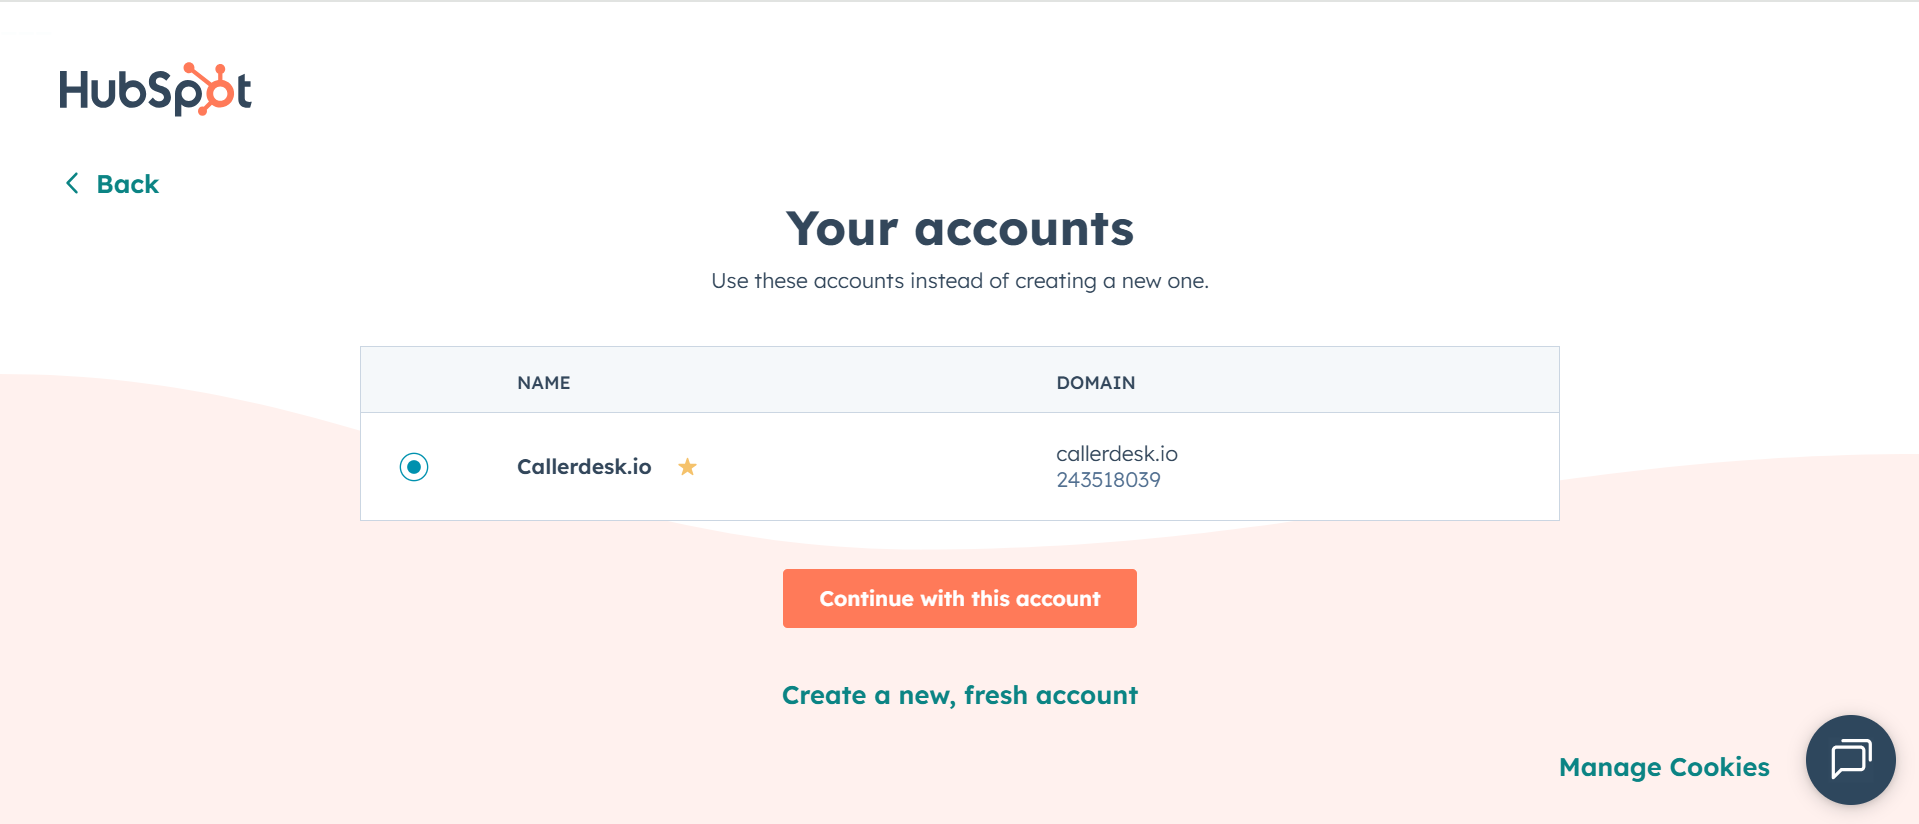
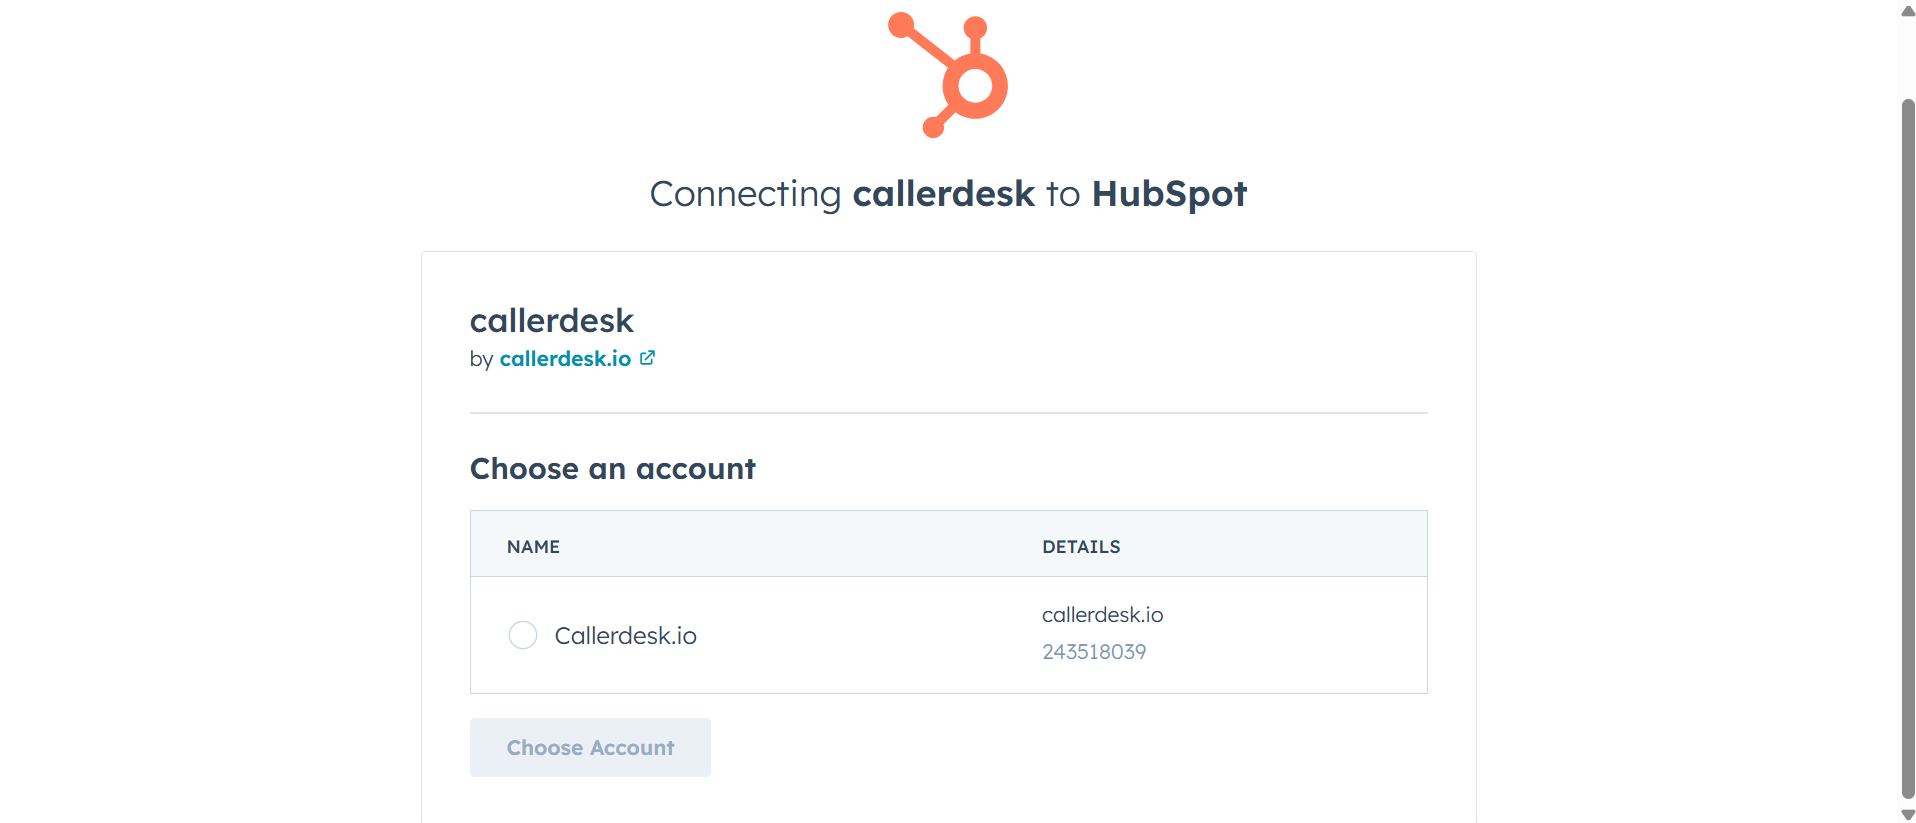
Step 4: Select HubSpot Account
- Once logged in, HubSpot will display the list of accounts you manage.
- Select the account you want to connect (e.g., CallerDesk.io).
- Click Continue with this account.
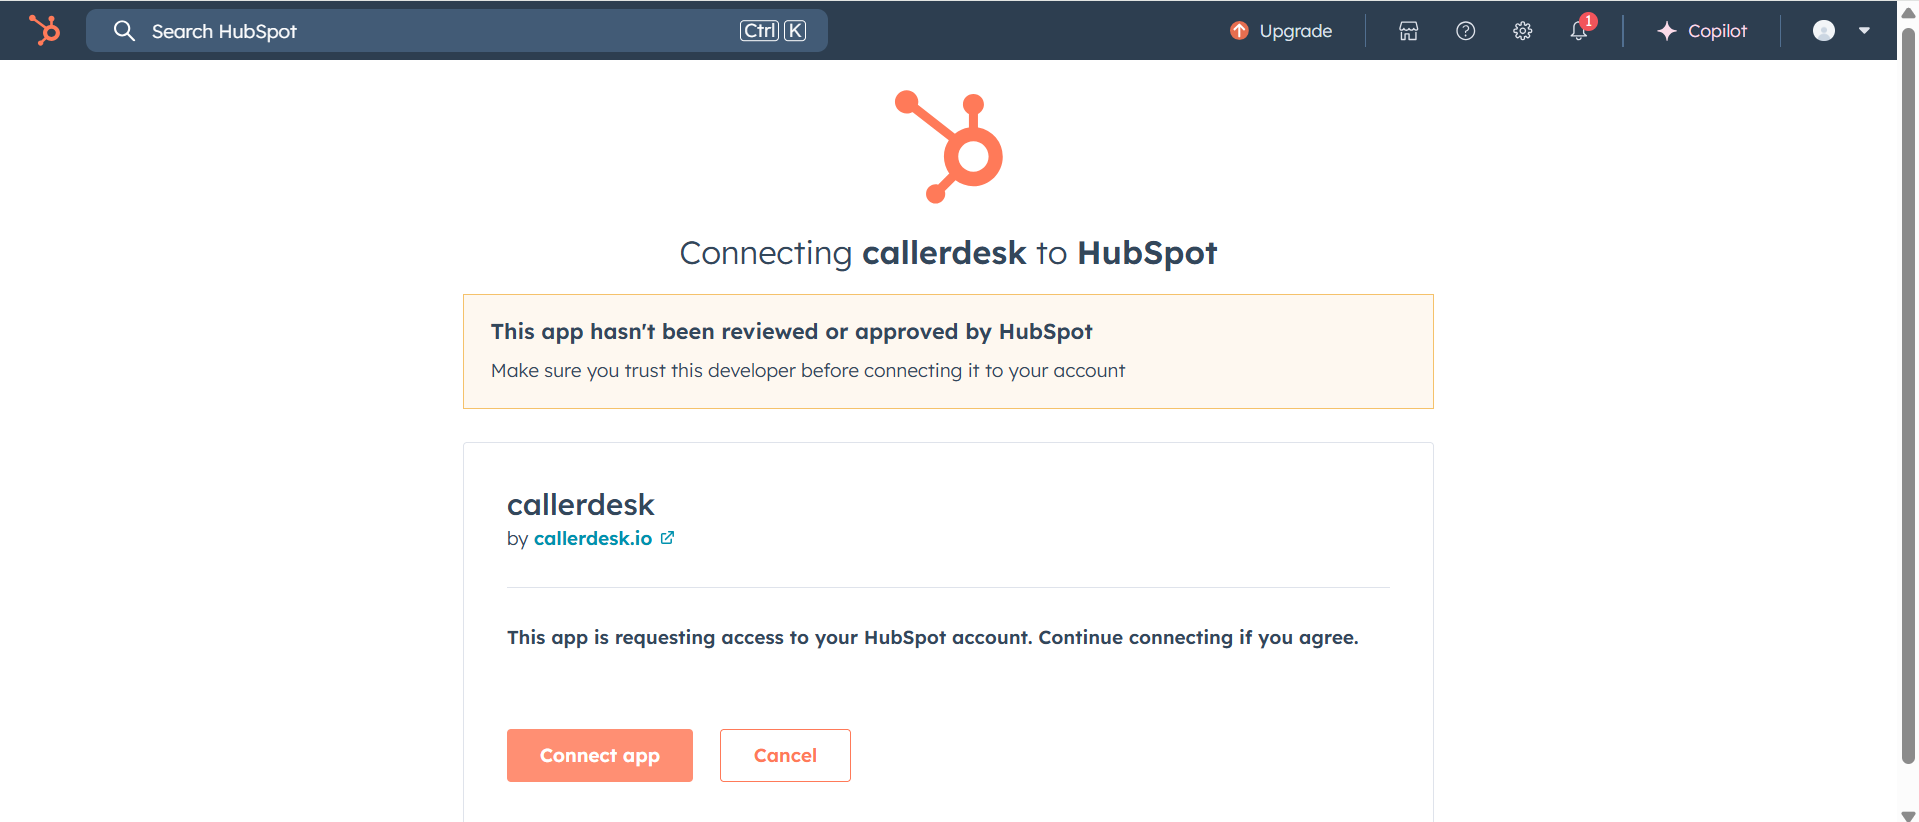
Step 5: Approve Permissions
CallerDesk needs access to certain HubSpot objects to log and manage call data:
- Contacts & Companies → To sync caller information.
- Deals & Tickets → To associate calls with sales and support workflows.
- Engagements → To log calls, notes, and recordings.
- Review the permissions carefully.
- Click Connect App to authorize CallerDesk.
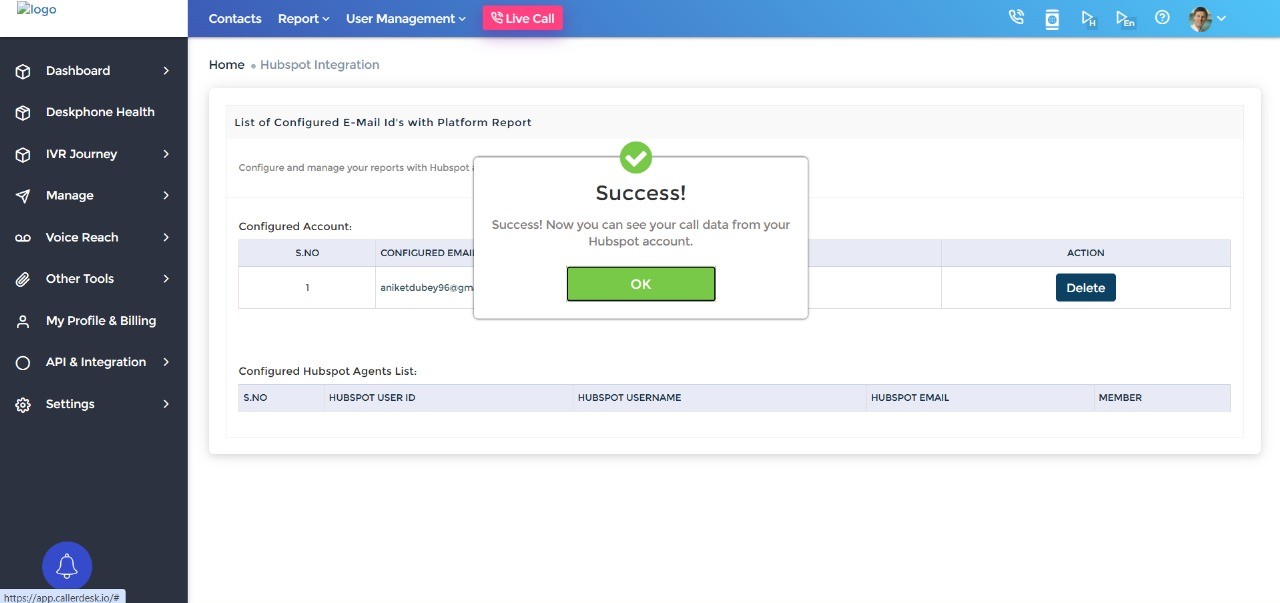
Step 6: Return to CallerDesk
- After approval, you’ll be redirected back to the CallerDesk dashboard.
- HubSpot will now appear as Connected under your integrations.
- You’re ready to start using CallerDesk with HubSpot.
Use
Once the integration is live, CallerDesk automatically syncs data to HubSpot in real time.
What Happens Automatically:
- Inbound & Outbound Calls → Logged instantly under the related HubSpot contact.
- Call Notes & Recordings → Added as activities inside HubSpot.
- Missed Calls → Create follow-up tasks in HubSpot.
- New Numbers → Automatically create new HubSpot contacts.
- IVR Actions → Link call outcomes to HubSpot deals or tickets.
Example Use Cases
- Sales Teams: Track conversations and listen to recordings inside HubSpot for better deal management.
- Support Teams: Missed calls automatically create HubSpot tickets, ensuring no issue goes unresolved.
- Marketing Teams: Caller responses via IVR can flow into HubSpot campaigns and workflows.
No manual updates are required—CallerDesk handles everything in the background.
Disconnect
Sometimes, businesses may want to temporarily stop syncing CallerDesk with HubSpot without removing the integration entirely. For example:
- You are testing changes in CallerDesk or HubSpot workflows.
- You want to pause data syncing while restructuring CRM properties.
- You want to troubleshoot integration issues.
Here’s how to disconnect CallerDesk from HubSpot:
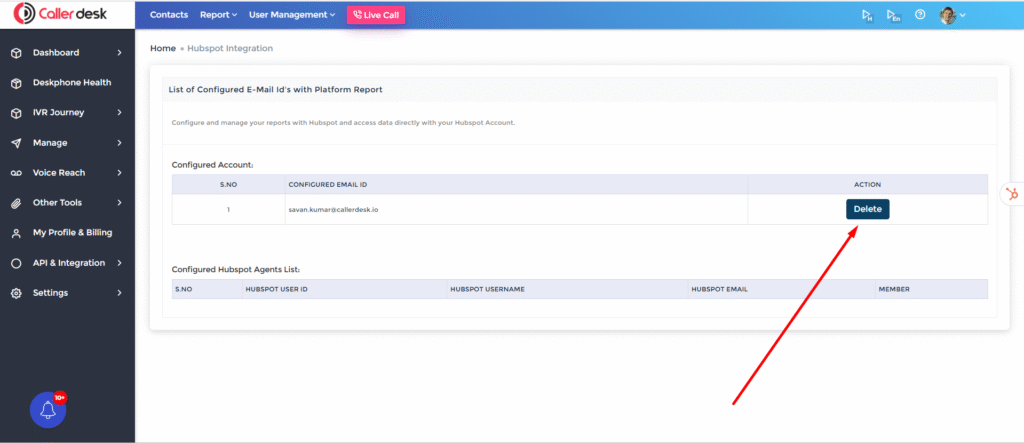
Steps to Disconnect:
- Log in to CallerDesk Dashboard.
- In the left menu, go to API & Integration → HubSpot.
- Locate the HubSpot integration card. It will show as Connected.
- Click the Disconnect button.
5. A confirmation dialog will appear. Click Yes, I am sure.
What happens after disconnecting?
- Future call data will no longer sync from CallerDesk into HubSpot.
- Existing call logs already saved in HubSpot will remain intact — no records are deleted.
- CallerDesk will retain the ability to reconnect whenever you are ready.
👉 Tip: If you only want to temporarily stop syncing, disconnecting is safer than uninstalling, since you can reconnect without reinstallation.
Uninstall
Uninstalling should only be done if you no longer plan to use the integration. Businesses may choose this option when:
- CallerDesk is no longer in use.
- You are switching to a different telephony solution.
- You want to permanently remove CallerDesk’s access from HubSpot.
Steps to Uninstall from HubSpot:
- Log in to your HubSpot account.
- In the top-right menu, click your profile picture and select Settings.
- In the left sidebar, navigate to Integrations → Connected Apps.
- Scroll through the list of connected apps and locate CallerDesk.
- Click on CallerDesk to open its app details page.
- Click the Uninstall App button.
HubSpot will ask you to confirm. Click Uninstall again to finalize.

What happens after uninstalling?
- CallerDesk is completely removed from your HubSpot account.
- CallerDesk can no longer push call data into HubSpot.
- HubSpot will revoke CallerDesk’s API access.
- Your existing HubSpot data remains safe — previously logged calls, notes, and recordings will not be deleted.
- If you decide to use CallerDesk with HubSpot again, you must repeat the installation steps from the beginning.
👉 Note: If you are unsure whether you want a permanent removal, consider using Disconnect instead of uninstalling.